How to Connect BeyondTime MCP to Claude Code
Connect BeyondTime to Claude Code (CLI) as an MCP server so you can manage your goals, habits, routines, and milestones from the terminal. Add the server, authenticate, and approve permissions in under a minute.
Add the BeyondTime MCP Server
In your terminal, run: claude mcp add --transport http beyondtime https://beyondtime.ai/mcp. This registers BeyondTime as a local MCP server for Claude Code.
Pro Tip
Use --scope user to make the server available across all your projects, or --scope project to scope it to the current directory.
Verify the Server in Local MCPs
Open Claude Code and run /mcp to list connected servers. Under "Local MCPs" you should see "beyondtime" with a "needs authentication" indicator.

Authenticate and Allow Permissions
Select the beyondtime server from the /mcp list to start the authentication flow, then allow all actions on the beyondtime mcp. Claude Code updates your settings.local.json to add the server to the allow list.

Pro Tip
Approving once persists the permission so you are not re-prompted every tool call.
Start Using BeyondTime from Claude Code
Ask Claude Code to create goals, log habits, suggest routines, or pull your dashboard. Every BeyondTime tool is now available directly inside your terminal session.
Key Features
Related Guides

Connect to Claude
Connect BeyondTime to Claude as an MCP connector so you can manage your goals, habits, routines, and milestones directly from Claude conversations. Get AI reflections, daily quotes, and personalized suggestions — all without leaving Claude.

Goals Setup
Goals are the foundation of your productivity journey in Beyond Time. Learn how to create meaningful goals, add AI-generated milestones, and track your progress toward achievement.
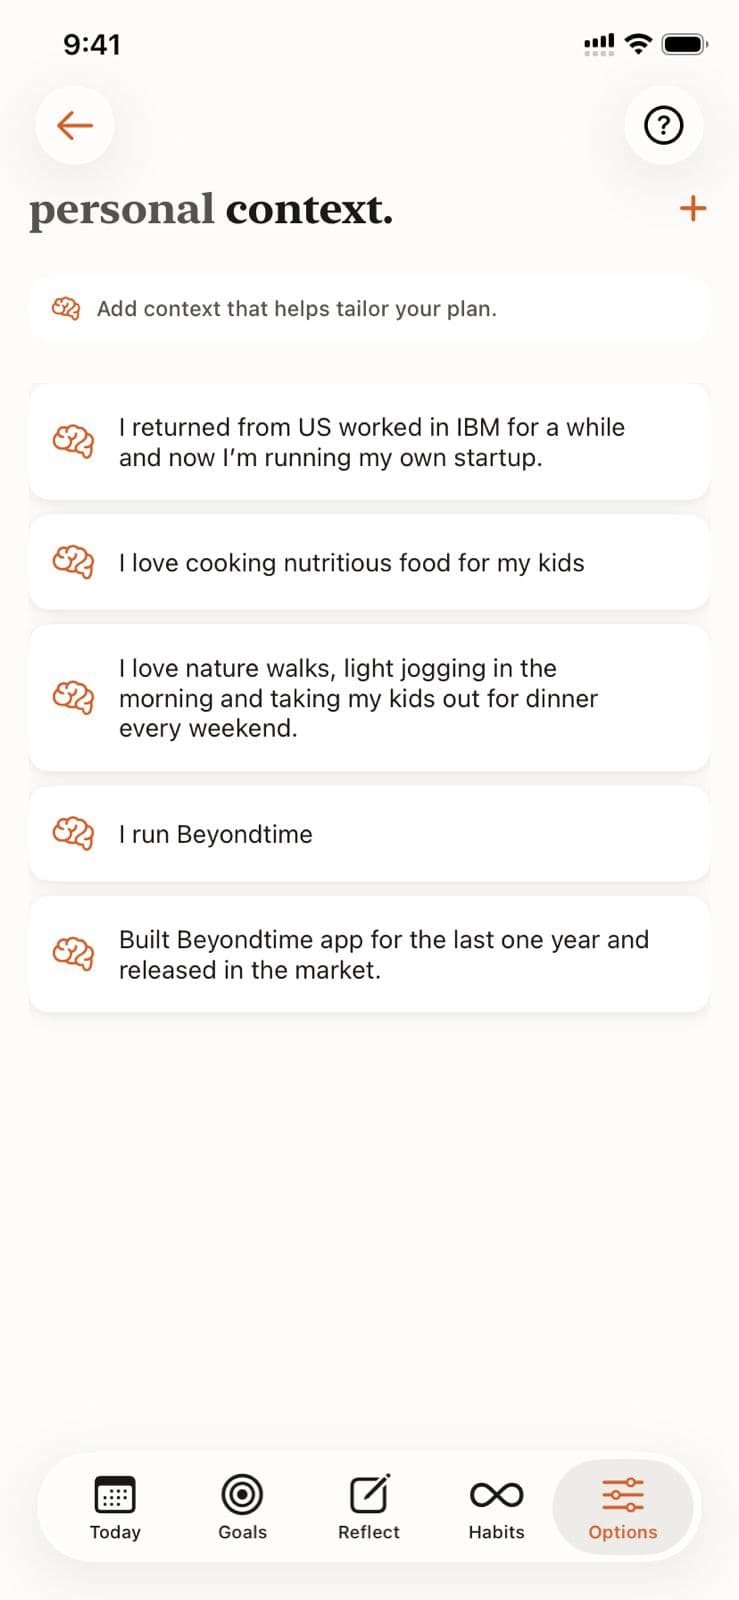
Personal Context
Help the AI understand your unique situation, constraints, and preferences by adding personal context. This enables truly personalized recommendations for goals, habits, and routines.
Ready to Try It Yourself?
Start using Beyond Time today and experience the power of AI-driven time mastery. The web platform is free forever.